
Creating effective hair treatments in your own kitchen takes just three basic ingredients and about 15 minutes, giving you full control over what touches your scalp while saving hundreds of dollars annually compared to salon-grade masks and serums.
The shift toward DIY hair care in 2026 isn’t just about cutting costs. Women are increasingly concerned about ingredient transparency, with good reason. Commercial products often contain hard-to-pronounce preservatives and fillers that offer little benefit to your hair’s health. When you mix your own treatments, you know exactly what you’re applying, and you can customize formulas for your specific hair type, whether that’s dry ends, an oily scalp, or color-treated strands that need extra protection.
The beauty of homemade hair care lies in its simplicity. Most foundational recipes require items already sitting in your pantry: coconut oil, honey, eggs, avocado, or apple cider vinegar. These aren’t trendy superfoods with inflated promises. They’re ingredients backed by both generations of traditional use and modern research showing real benefits for hair strength, moisture retention, and scalp health.
Starting your DIY hair care journey doesn’t mean abandoning every commercial product or spending hours researching obscure botanical extracts. It means learning a few reliable base recipes, understanding which ingredients solve which problems, and building confidence through hands-on experience. You’ll quickly discover what works for your unique hair needs, and you’ll gain the satisfaction of creating something genuinely nourishing with your own hands.
What You’ll Need: Essential Tools and Ingredients
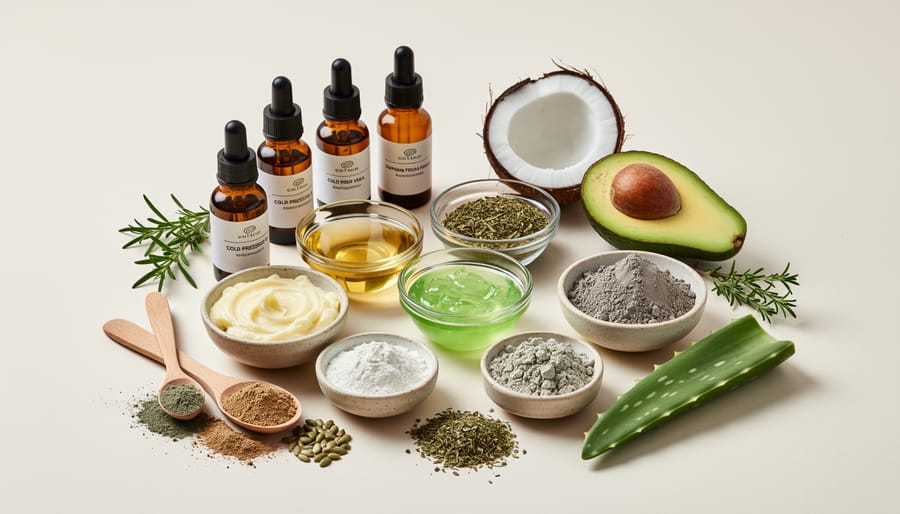
Kitchen Tools You Already Own
You don’t need to buy specialized equipment to start making hair treatments. Your kitchen already contains most of what you’ll need.
A glass mixing bowl works perfectly for combining ingredients. Glass won’t react with acidic components like lemon juice or apple cider vinegar, and it’s easy to clean. Small ceramic bowls are ideal for single-serving masks.
Measuring spoons ensure consistency between batches. Hair treatments require precise ratios, especially when mixing oils with other ingredients. Keep a dedicated set if you’re making treatments frequently.
A whisk or fork blends thick ingredients like honey or coconut oil into smooth mixtures. For heavier butters, a regular dinner fork provides enough force to break down clumps.
An old squeeze bottle or clean ketchup dispenser makes root application much easier than trying to spoon mixture onto your scalp. Just rinse thoroughly between uses.
Mason jars with tight lids store leftover treatments and prevent spills. The clear glass lets you see when ingredients separate.
A kitchen timer keeps you honest about treatment duration. It’s easy to forget you have a mask on.
Natural Ingredients by Hair Type
Different hair types respond to different ingredients, so matching your selections to your specific needs makes all the difference. For dry, coarse, or textured hair, heavy emollients work best, coconut oil penetrates the hair shaft to provide deep moisture, while shea butter seals in hydration and tames frizz. Argan oil adds lightweight shine without weighing down curls.
If you have fine or oily hair, skip the heavy oils entirely. Aloe vera gel provides moisture without residue, and lightweight jojoba oil (which closely mimics your scalp’s natural sebum) won’t leave hair limp. Apple cider vinegar diluted in water makes an excellent rinse for oily scalps because its apple cider vinegar pH helps balance oil production and remove buildup.
For damaged or color-treated hair, protein-rich ingredients rebuild strength. Raw honey acts as a humectant while providing gentle repair, and avocado delivers both protein and fatty acids. Avoid lemon juice or anything highly acidic if you’ve recently colored your hair, as these can strip dye.
Sensitive scalps need soothing ingredients like chamomile tea (cooled), oatmeal, or aloe vera. Stay away from essential oils unless you’ve patch-tested them first, they’re concentrated and can irritate reactive skin. Your hair’s porosity also matters: high-porosity hair absorbs ingredients quickly but loses moisture fast, so heavier sealants help lock in treatments.
Safety First: What to Watch Out For
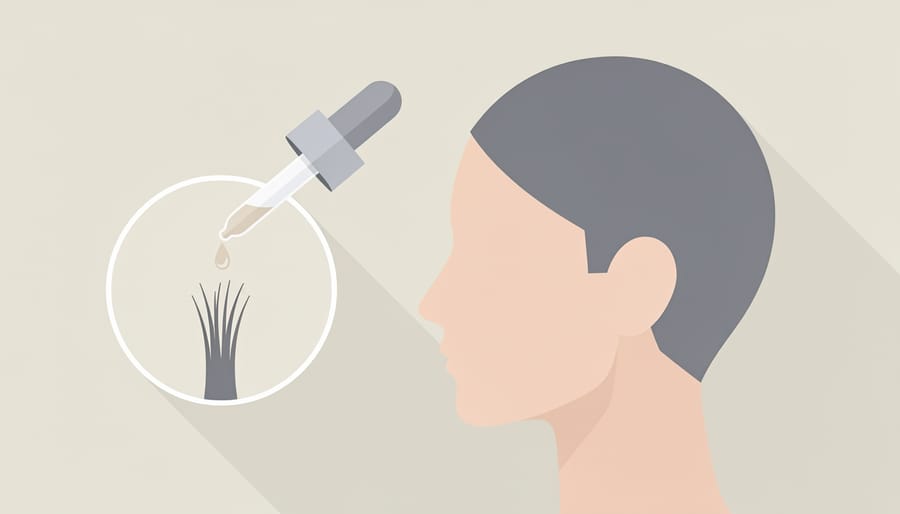
Before you mix your first DIY treatment, understanding basic safety protocols can prevent painful reactions and hair damage. Natural doesn’t automatically mean harmless, many kitchen ingredients can trigger allergies, burn your scalp, or interact badly with your hair’s chemistry.
Always patch test for allergies before applying anything new to your entire head. Mix a small amount of your treatment and apply it to the inside of your elbow or behind your ear. Wait 24 hours. If you notice redness, itching, swelling, or burning, don’t use that ingredient. This simple step catches reactions before they affect your whole scalp.
Fresh ingredients spoil quickly. A DIY mask with avocado, yogurt, or egg should be used immediately and never stored. Oil-based treatments last longer but still degrade, coconut oil mixed with honey stays good for about two weeks refrigerated, while plain carrier oils keep for months in a cool, dark place. Toss anything that smells off, changes color, or develops mold.
Some ingredients don’t play well together. Mixing acids like lemon juice or apple cider vinegar with baking soda creates a chemical reaction that neutralizes both, wasting your ingredients. Combining too many active ingredients, say, acids plus proteins plus heavy oils, overwhelms your hair and causes buildup or dryness rather than benefits.
Know when DIY isn’t the answer. If you’re experiencing sudden hair loss, bleeding or oozing from your scalp, severe itching that won’t stop, or changes in hair texture after chemical treatments like relaxers or perms, see a dermatologist or trichologist. DIY treatments can’t fix underlying medical conditions, hormonal imbalances, or damaged hair that needs professional correction. They’re preventative and nourishing, not medicinal.
Stop using any treatment immediately if you notice increased shedding, breakage, or scalp irritation. Your hair will tell you what it doesn’t like.
Step-by-Step: Creating Your First DIY Hair Treatment
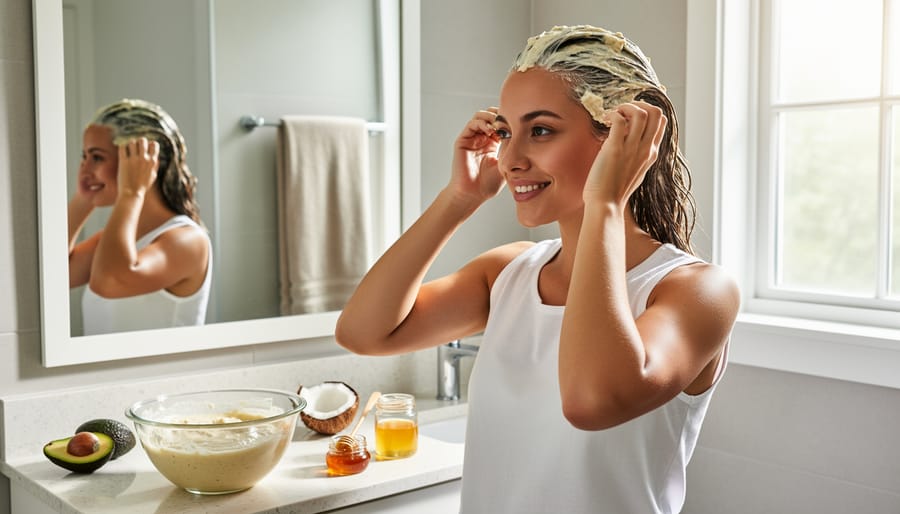
Preparing Your Workspace
Clear your kitchen counter or bathroom vanity and wipe it down with rubbing alcohol or a mild disinfectant. You’re working with ingredients that’ll touch your scalp, so starting clean matters.
Lay out a clean towel as your workspace base. It catches spills and makes cleanup easier. Gather everything you’ll need before you start mixing: your recipe ingredients, measuring tools, mixing bowl, and storage container. Having it all within arm’s reach prevents that mid-recipe scramble through cabinets with sticky hands.
Wash your hands thoroughly and tie back your hair. If you’ve got long sleeves, roll them up. These small prep steps prevent contamination and keep you from accidentally dipping your cuff into coconut oil.
Mixing and Application Techniques
Start by adding your liquid ingredients to dry ones, never the reverse, to avoid clumping. Pour slowly while stirring with a whisk or fork in smooth, circular motions. You’re aiming for a spreadable consistency similar to Greek yogurt: thick enough to cling to your hair without dripping down your neck, but smooth enough to glide through strands.
If your mixture feels too thick, add water or aloe vera gel one teaspoon at a time. Too runny? Blend in a bit more powder or mashed banana until it holds together. Let the mixture sit for two minutes after mixing, many ingredients like flaxseed gel or oatmeal need this time to reach their full texture.
Before applying, dampen your hair with a spray bottle. Wet hair opens the cuticle slightly, allowing treatments to penetrate better than bone-dry strands. Section your hair into four quadrants using clips, especially if you have thick or long hair.
Start at the roots if you’re targeting your scalp, using your fingertips to massage the mixture in small circles. For length treatments, begin at the ends where hair is most damaged, then work upward. Use a wide-tooth comb to distribute the treatment evenly, this catches any missed spots and prevents product waste.
Don’t forget the hairline and nape of your neck. These areas get overlooked but need the same attention as the rest of your head.
Timing and Rinsing
Most DIY treatments need 20 to 45 minutes to work effectively. Light conditioners sit for 15 to 20 minutes, while deep masks containing oils or proteins perform best at 30 to 45 minutes. You can extend certain treatments to work as overnight hair care by wrapping your hair in a protective silk scarf, though check your recipe first since some ingredients can over-process if left too long.
Warning signs you’ve overdone it include excessive tangles, a straw-like texture, or difficulty rinsing the product out. Your hair shouldn’t feel brittle or sticky when wet.
For rinsing, start with lukewarm water and work from scalp to ends, using your fingers to gently massage and lift the treatment away. Don’t scrub aggressively. Follow with a clarifying rinse if the treatment feels heavy, then finish with cool water to seal the cuticle and boost shine. If residue remains, apply a tiny amount of regular shampoo just to the coated areas rather than washing your entire head again.
Five More DIY Treatments to Try
Once you’ve mastered your first treatment, these five targeted recipes address specific hair concerns using ingredients that likely already sit on your shelves. Each formula has been refined through countless home experiments and delivers measurable results when used consistently.
Deep Conditioning Coconut-Avocado Mask penetrates the hair shaft to repair damage and restore moisture. Mash half a ripe avocado until smooth, then blend with two tablespoons of melted coconut oil and one tablespoon of honey. Apply generously to damp hair, focusing on the mid-lengths and ends. Cover with a shower cap and leave for 30 minutes before rinsing thoroughly with lukewarm water. Use weekly for dry or damaged hair.
Rosemary-Tea Tree Scalp Treatment tackles dandruff and promotes circulation. Steep two rosemary tea bags in one cup of boiling water for 15 minutes, then let cool completely. Add ten drops of tea tree oil and transfer to a spray bottle. Part your hair into sections and spray directly onto the scalp, massaging gently with your fingertips. Leave on for 20 minutes, then shampoo as usual. Apply twice weekly until scalp health improves.
Apple Cider Vinegar Shine Rinse removes product buildup and enhances natural gloss. Mix one part raw apple cider vinegar with three parts cool water in a jar. After shampooing, pour the mixture over your hair, working it through from roots to ends. Let it sit for two minutes, then rinse with cold water. The vinegar smell dissipates as your hair dries. Use once or twice monthly to maintain shine without stripping natural oils.
Egg White Protein Strengthener rebuilds weakened hair structure. Separate two egg whites from the yolks and whisk until slightly frothy. Apply to clean, damp hair and leave for 20 minutes before rinsing with cool water only, hot water will cook the egg. Follow with your regular conditioner. This kitchen natural remedies approach works particularly well for fine or over-processed hair that needs structural support.
Baking Soda Clarifying Treatment resets your hair by removing mineral deposits and stubborn buildup. Mix one tablespoon of baking soda with three tablespoons of water to form a paste. Apply to wet hair before shampooing, massaging the scalp for one minute. Rinse completely and follow with a moisturizing conditioner, as this treatment can be drying. Limit use to once monthly to avoid disrupting your scalp’s natural pH balance.
Expert Insight: What Professionals Want You to Know
Licensed stylist Maria Chen, who has worked with both salon-exclusive and DIY enthusiasts for over 15 years, emphasizes that preparation matters more than most people realize. “I’ve seen gorgeous results from simple kitchen ingredients, but I’ve also fixed disasters where someone rushed through mixing or skipped the patch test,” she explains. Her biggest piece of advice? Start conservative with ingredient ratios and build up gradually rather than assuming more is better.
Trichologist Dr. James Patel points to one mistake he encounters repeatedly: using treatments too frequently. “Your hair needs time to absorb and benefit from nutrients. Overdoing protein treatments, for instance, can make hair brittle instead of stronger,” he notes. He recommends spacing intensive DIY treatments at least a week apart and listening to how your hair responds between applications.
Both professionals agree that certain conditions require expert intervention. Sudden hair loss, persistent scalp inflammation, chemical damage from previous treatments, or changes in hair texture that concern you shouldn’t be tackled alone. “DIY works beautifully for maintenance and enhancement, but medical-grade hair loss or severe damage needs professional assessment,” Dr. Patel stresses.
Chen adds that the best DIY practitioners treat their homemade treatments as complements to good haircare fundamentals, not replacements. “You still need proper cleansing, reasonable heat styling limits, and protection from environmental damage. A weekly avocado mask won’t undo daily abuse.” She encourages documenting your recipes and results in a simple notebook, which helps you refine what works specifically for your hair over time.
How to Know It’s Working (And What to Do Next)
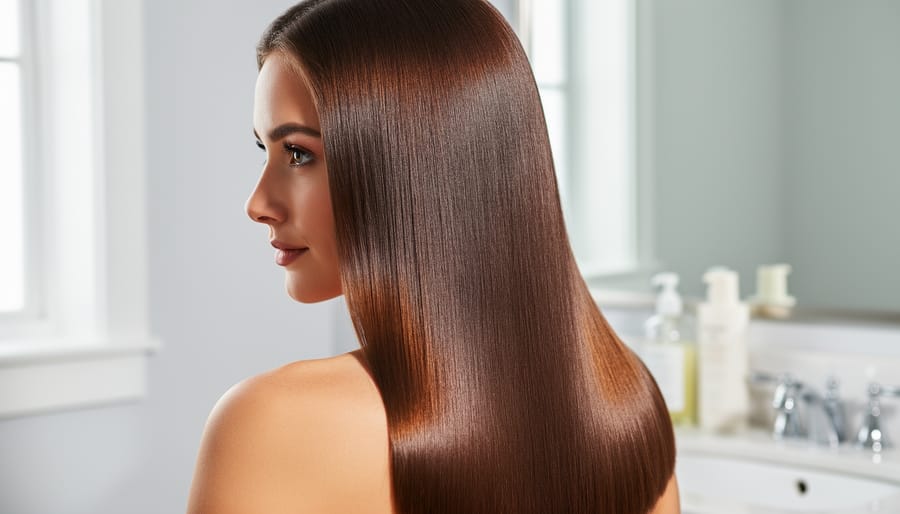
Signs of Success
When your DIY hair care routine is working, you’ll notice tangible changes within two to four weeks. Your hair should feel softer to the touch and look noticeably shinier, especially in natural light. Breakage decreases, you’ll see fewer strands on your brush or pillow. Manageability improves dramatically: detangling becomes easier, styling takes less time, and your hair holds its shape better throughout the day. Your scalp feels balanced, neither excessively oily nor uncomfortably dry, with reduced flaking or itchiness. Hair appears fuller and more vibrant as damaged cuticles smooth down. These improvements often correlate with overall wellness habits, including maintaining a better sleep routine which supports hair health from within. If you’re experiencing most of these signs, your treatments are effective and worth continuing.
Troubleshooting and Adjustments
If your hair feels dry, brittle, or weighed down after several weeks of DIY treatments, it’s time to reassess. Start by halving the frequency, overwashing or over-conditioning often does more harm than good. If a coconut oil mask left your hair greasy, try lighter alternatives like argan or jojoba oil, or reduce the amount you’re using by half.
When recipes feel too thick, add a tablespoon of water or aloe vera gel at a time until you reach a spreadable consistency. Too runny? Incorporate more banana, avocado, or clay to thicken. Notice increased breakage? You may be overusing protein treatments, switch to moisture-focused ingredients like honey and shea butter for at least two weeks.
Sometimes hair issues stem from factors beyond products. Chronic scalp problems or sudden texture changes warrant a dermatologist visit rather than another Pinterest remedy. And remember that stress affects hair health significantly, incorporating natural stress relief practices alongside your hair routine may yield better results than any mask alone. If you’ve adjusted recipes three times without improvement, professional guidance will save you time and prevent further damage.
Storage and Sustainability Tips
Store your DIY hair treatments in clean, airtight containers, glass jars with tight-fitting lids work best because they don’t absorb oils or odors like plastic can. Label everything with the date you made it and the ingredients used, so you’ll know exactly when to toss it. Most water-based treatments last only three to five days in the refrigerator, while oil-only blends can stay fresh for several weeks at room temperature.
Ingredients containing water, fresh fruits, or dairy spoil quickly because they create an environment for bacteria. If your treatment smells off, changes color dramatically, or develops mold, discard it immediately, no exceptions. For recipes you love but can’t use fast enough, freeze individual portions in ice cube trays, then pop them into a freezer bag. You’ll have ready-to-thaw treatments whenever you need them without the pressure to use everything at once.
Sustainability goes beyond just storage. Make smaller batches to match what you’ll actually use, reducing the temptation to dump expired product down the drain. Reuse containers from store-bought products after thoroughly cleaning them, or invest in a few quality glass jars you can sterilize and refill indefinitely. Many natural brand ingredients come in recyclable packaging, so choose suppliers who prioritize eco-friendly materials when you’re stocking your DIY pantry.
Keep dry ingredients like clays and powders in sealed containers away from moisture and direct sunlight. They’ll maintain potency for months, sometimes years, when stored properly. This approach minimizes replacement costs and keeps your routine genuinely sustainable, better for your hair, your budget, and the environment.
How to Check Your Work
After following any DIY hair treatment, you’ll want to assess the results before making it a regular part of your routine. Start by examining your hair when it’s dry, this is when you’ll notice real changes in texture and manageability.
Run your fingers through your hair from roots to ends. It should feel smooth, not sticky or coated. Healthy hair moves freely and doesn’t tangle immediately after brushing. Look for visible shine in natural light, not an artificial-looking greasiness. Check your scalp too: it should feel comfortable, without excessive dryness, flaking, or irritation.
Compare your current hair state to photos from before you started the treatment. Improvements take time, but within two to four weeks you should notice reduced frizz, less breakage, or better moisture retention depending on what you were targeting.
If your hair feels worse after multiple applications, shows unusual dryness or brittleness, or if your scalp develops persistent redness or discomfort, stop the treatment immediately. These signs indicate the recipe isn’t working for you or may require professional evaluation. A trichologist or dermatologist can identify underlying scalp conditions that DIY methods can’t address.
You now have everything you need to take control of your hair health through DIY care. Start with the foundational treatment you learned in this guide, then branch out to the additional recipes as you grow comfortable with the process. Remember that your routine should evolve with your hair’s needs, there’s no single formula that works forever, and that flexibility is DIY’s greatest strength.
The beauty of creating your own treatments lies in knowing exactly what touches your scalp and strands. You choose the ingredients, adjust the ratios, and refine the methods based on real results you can see and feel. Whether you’re drawn to nourishing oils, clarifying rinses, or protein-rich masks, you’re building a practice that honors your unique hair type and lifestyle. Just as you’d learn what to look for in quality skincare, you’re now equipped to evaluate and customize your haircare with the same discernment.
We’d love to hear how your DIY journey unfolds. Share your favorite recipes, breakthrough moments, or unexpected discoveries in the comments below, your experience might be exactly what another reader needs to hear.
Common Questions About DIY Hair Care
How often should I use DIY hair treatments?
Deep conditioning masks work best once or twice weekly, while lighter treatments like oil rinses can be used two to three times per week. Your hair’s porosity and damage level will determine the ideal frequency, over-treating can lead to buildup or protein overload.
Are DIY treatments actually cheaper than store-bought products?
You’ll typically spend $15-30 on foundational ingredients that yield 10-15 treatments, compared to $8-15 per single-use commercial mask. The upfront cost feels higher, but the per-treatment expense drops dramatically once you have basics like coconut oil, honey, and essential oils on hand.
Can I use DIY treatments on color-treated hair?
Most gentle, moisturizing treatments are safe for colored hair, but avoid clarifying rinses with high acidity like straight lemon juice or vinegar, which can strip color. Stick to nourishing ingredients like avocado, argan oil, and yogurt, and always patch-test on a hidden strand first.
How do I adjust recipes for my specific hair type?
Fine hair needs lighter oils like jojoba or grapeseed and shorter treatment times to prevent weighing it down, while thick or coarse hair benefits from heavier butters like shea or mango and longer processing. Curly hair typically requires more moisture, so increase hydrating ingredients like aloe vera or honey in your base recipe.
The beauty of DIY hair care lies in this adaptability. Start with a basic recipe at half strength, test it for a week, then gradually adjust the ratios based on how your hair responds. Keep notes on what works, your hair’s needs shift with seasons, stress levels, and hormonal changes, so a treatment that’s perfect in humid summer might need tweaking come winter. If a recipe consistently disappoints despite modifications, your hair might need a different approach entirely rather than endless variations on the same theme.